Top 10 Photography Tips for Severe Weather
There is no such thing as bad weather, only different kinds of good weather.
John Ruski
I am drawn to extreme weather when capturing train photography. I relish these moments as one of my favorite times to chase trains; especially through rain and fog. There is an atmosphere that connects these weather conditions, each one unique in its own right. The dramatic mood of a storm or the serenest of fog are very different from each other, but both carry a deeper emotion. Thunderstorms can vary greatly from the soothing sound of wind blowing with soft thunder overhead, or rain that ticks against your window and moments later the violent monsters of the storm bring thunderous claps and bright flashes overhead. The way in which you photograph trains under weather conditions can bring these emotions out to your audience. You are presenting that railroads and crews don’t sleep as they are always on the move; battling driving rain and harsh conditions to move freight.
Thunderstorms and Lightning
During a severe thunder or lightning storm is one of the most dangerous times to be trackside, but at the same time very electrifying. Thunderstorms can pack a little bit of everything from driving rain, high winds, hail, and lightning. I educated myself on storms by taking classes and doing my own research. I felt it was vital to perfect my craft to learn how storms develop and evolve which can help me decide where I want to be positioned during severe weather. No matter how much training you do, you need to respect the environment you are in and realize the risk involved.
From a Distance
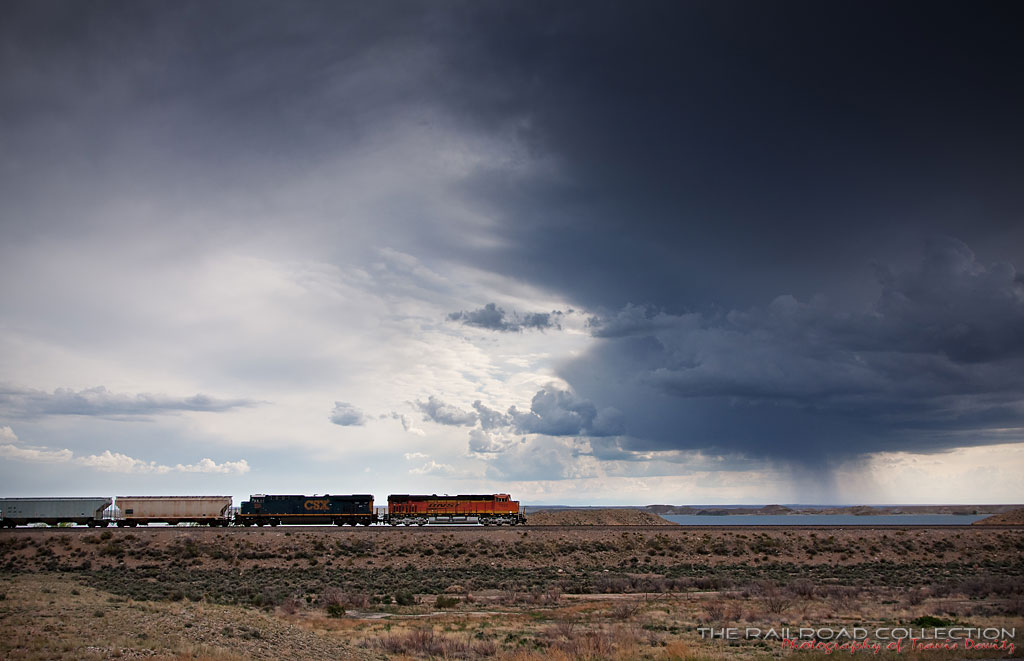 There are a few different ways to photograph thunderstorms. You can photograph them in the day or by night, from afar or inside the storm. This leaves you with many options depending on what you like and what mother nature delivers you. Being out west gives you the best ability to shoot storms from a distance. There are limited trees to block your view of the rolling clouds bursting skyward into an anvil top. This can create an interesting background to compliment the subject, the train. The train can be close or also at a distance depending on location.
Storm Light
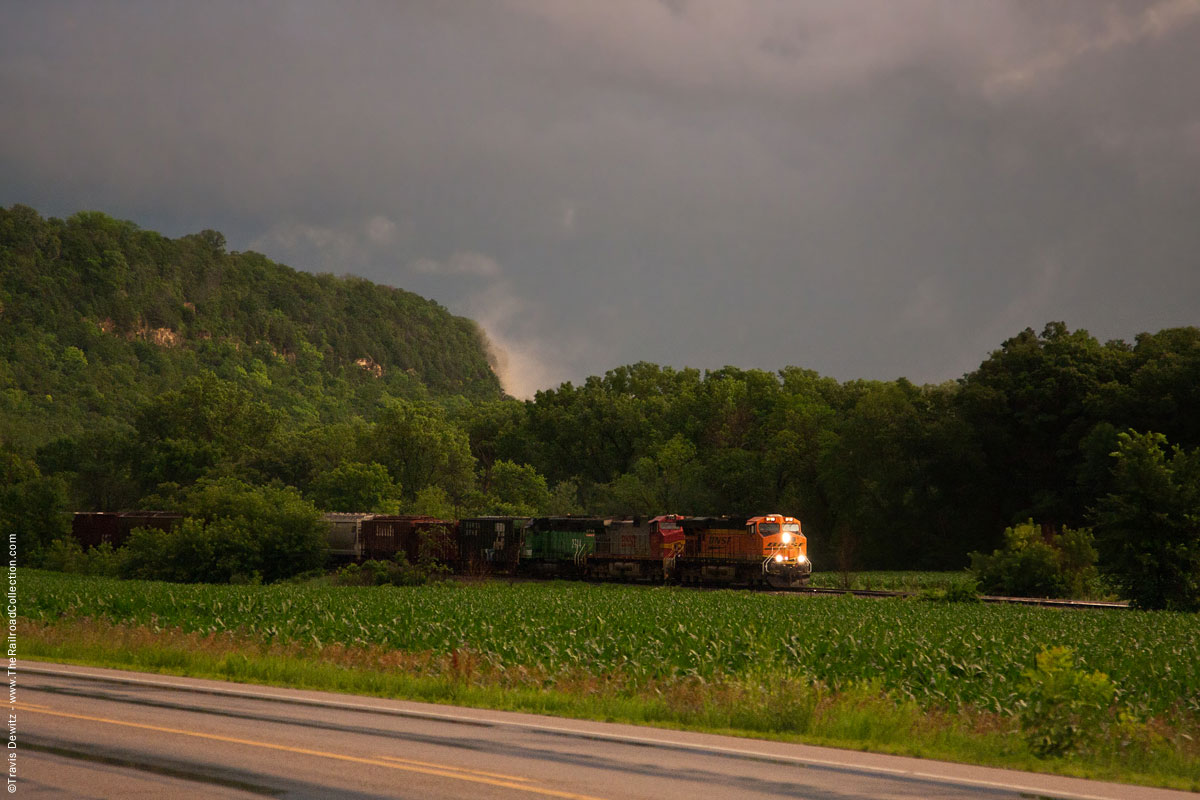 One of the most popular ways to photograph trains in a storm is during the day with sunset being ideal. You will want the storm to be positioned in front of you in the distance. You will need an isolated storm with clear skies around you to allow the sun to shine in. This will light the train well while creating dark storm clouds in the distance. This lighting set up will create great contrast between the background and foreground and should also yield nice rich color.
In the Storm
 Being in the eye of the storm is quite dangerous, but it can create some stunning situations through mood, and unique lighting. The obstacles you have to work around when shooting from in a storm and probably the most annoying, is keeping rain droplets off the front of your lens. It can be a never ending task, but occasionally they can add to your image. If your gear isn’t weatherproof, you will need to stay under cover or invest in rain gear for your equipment. Lighting is usually low, but even unless you are near the edge of the storm. I often shoot from a vehicle to offer me protection while still being able to position my vehicle to block the wind gusts that would otherwise blow rain into me.
Night Storm
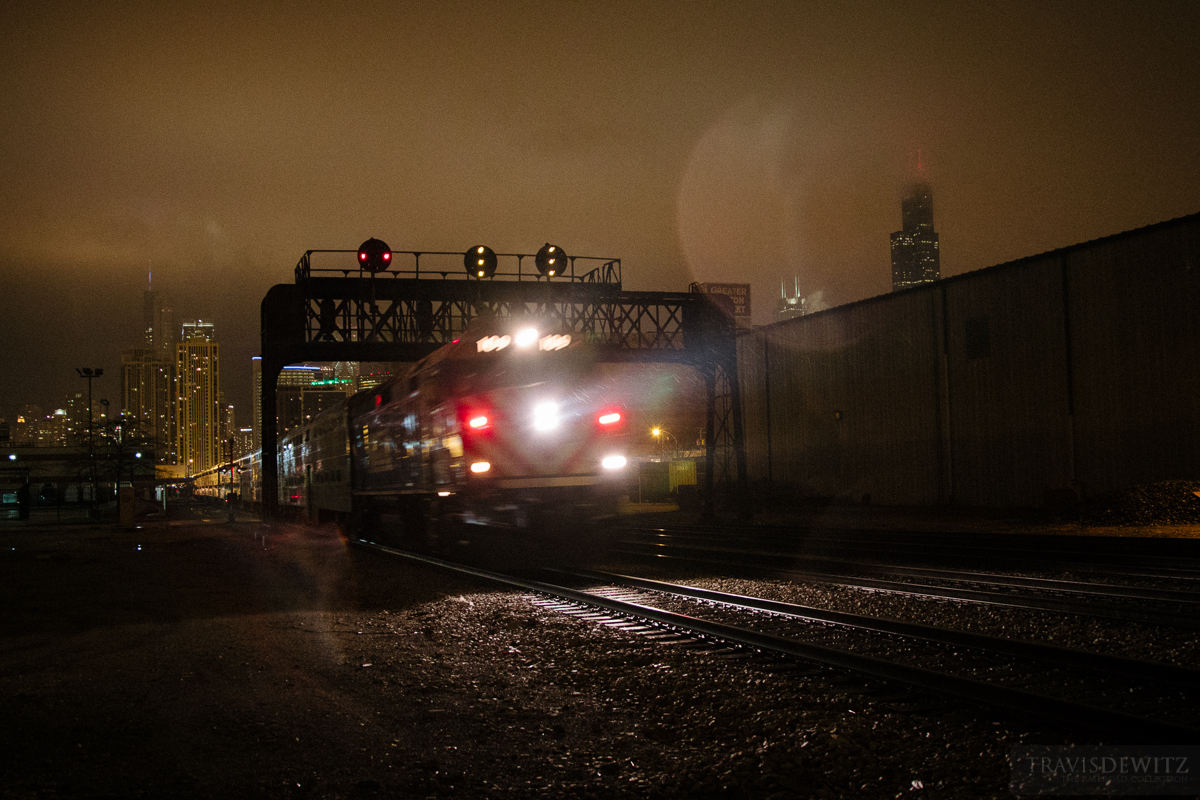
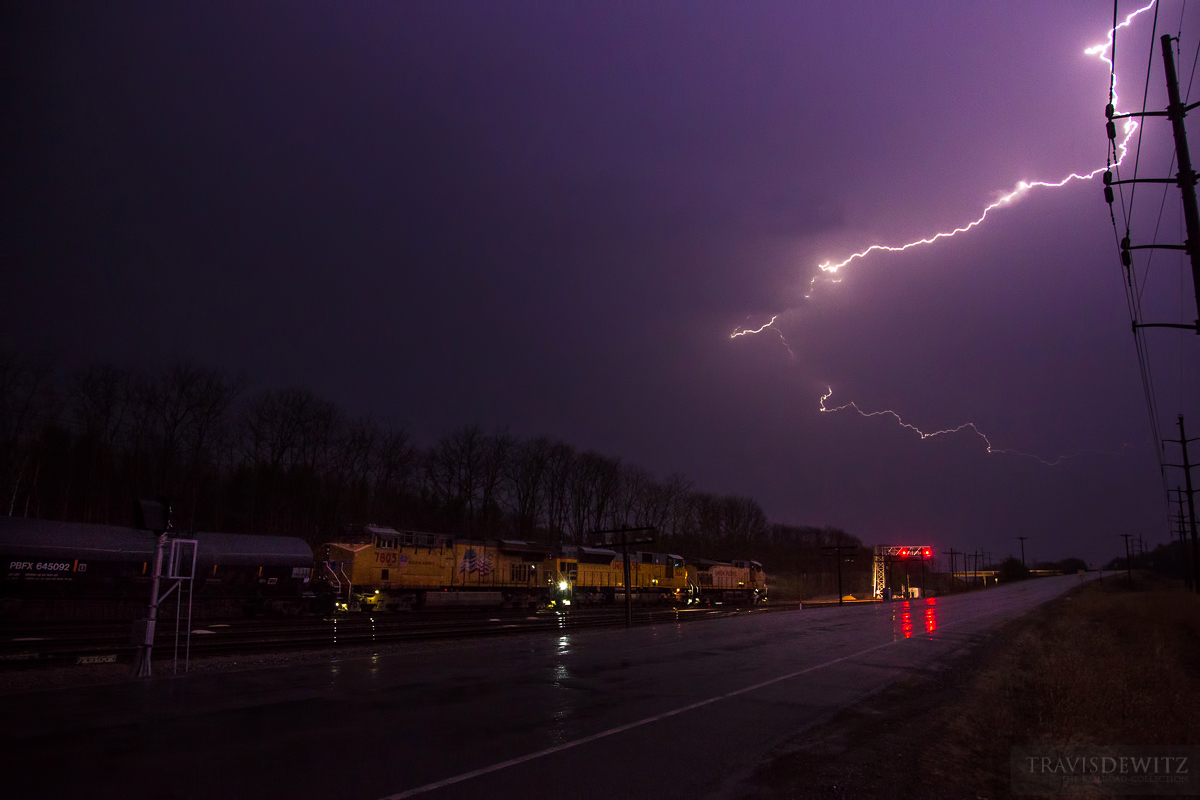
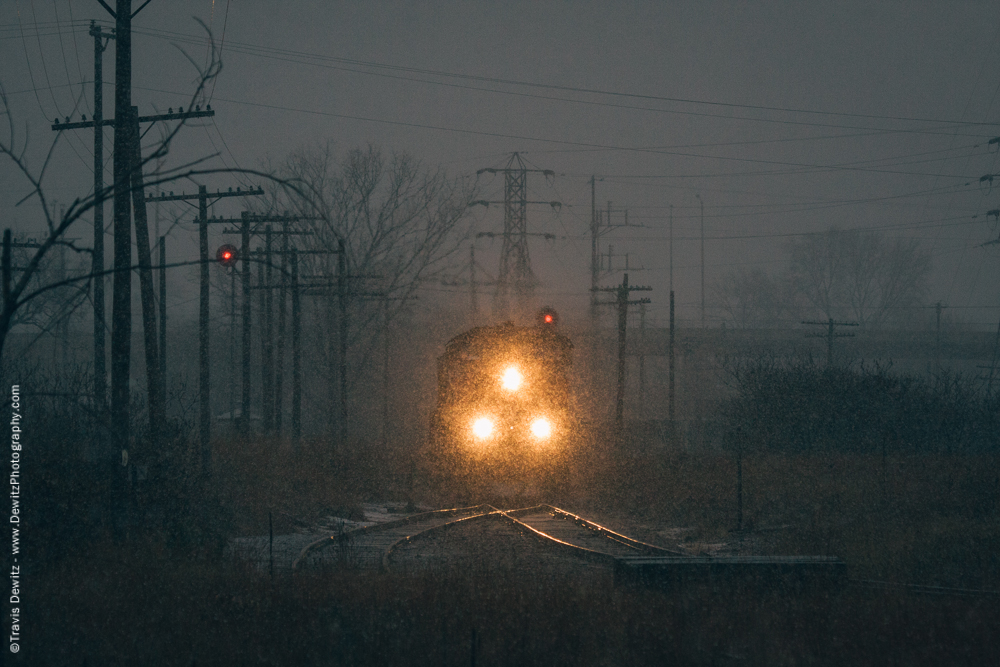
 Lack of light is the big disadvantage here. The real benefit is the ability to do long exposures to create blurred clouds as they develop overhead. I love to capture a locomotives headlights as they produce light beams shining through the falling rain. The most prevalent advantage is how vibrant lightning appears at night. Lightning usually produces colors that range from blues to violets. Depending on if the lightning is cloud to cloud or cloud to ground and where it strikes can really bring out the definition and show the layers of storm clouds.
Lightning Photography Tips
There are multiple ways to capture lightning. Using manual mode on your camera is the best place to start. This will allow for more control. The hardest part of photographing lightning is getting your exposure correct. Lightning strikes can be very bright, but the brightness can vary greatly depending on many factors, including; size, direction, position in sky, rain, clouds, and how close in proximity it is. You can see how figuring out your exposure can be challenging and it can boil down to an educated guess and a little bit of luck.
- The easiest way to capture lightning is with a lightning trigger. They can be expensive, but the benefit is that you just put it in your cameras hot shoe and it triggers your camera for you when it sees a flash. I do not have any experience with these personally so you will want to do your own research.
- The easiest and cheapest way, is to set your camera up on a tripod and adjust your cameras shutter speed between 10 or 30 seconds. The more frequent the lighting flashes are the shorter the duration you will want to use.
- The second way is almost the same as the last one except you will need a shutter release for your camera to do this. With your camera on a tripod, set it to the Bulb setting and adjust your shutter release. These are a few options you will have with this set up. You can now hold your shutter open for longer than 30 seconds if needed. I really try to do 20 seconds or less as longer times can create noise and there is more risk for vibrations caused by the wind. The biggest advantage to this set up is that after a lightning strike, you can close the shutter so that you don’t overexpose the image if multiple strikes happen when you are set up to capture only one.
- The last way and the most common way I do it, is to catch the lightning. The main advantage to this is that it can be done in places you may not be able to use a tripod. With the shutter button held 1/2 way down, I hold the camera very steady and smoothly push it all the way right when I see a strike happen. Some lightning storms, the lightning duration is far too quick for this technique to work. I have had good success doing this, but you will have a lot of missed opportunities.
Winter Blizzards
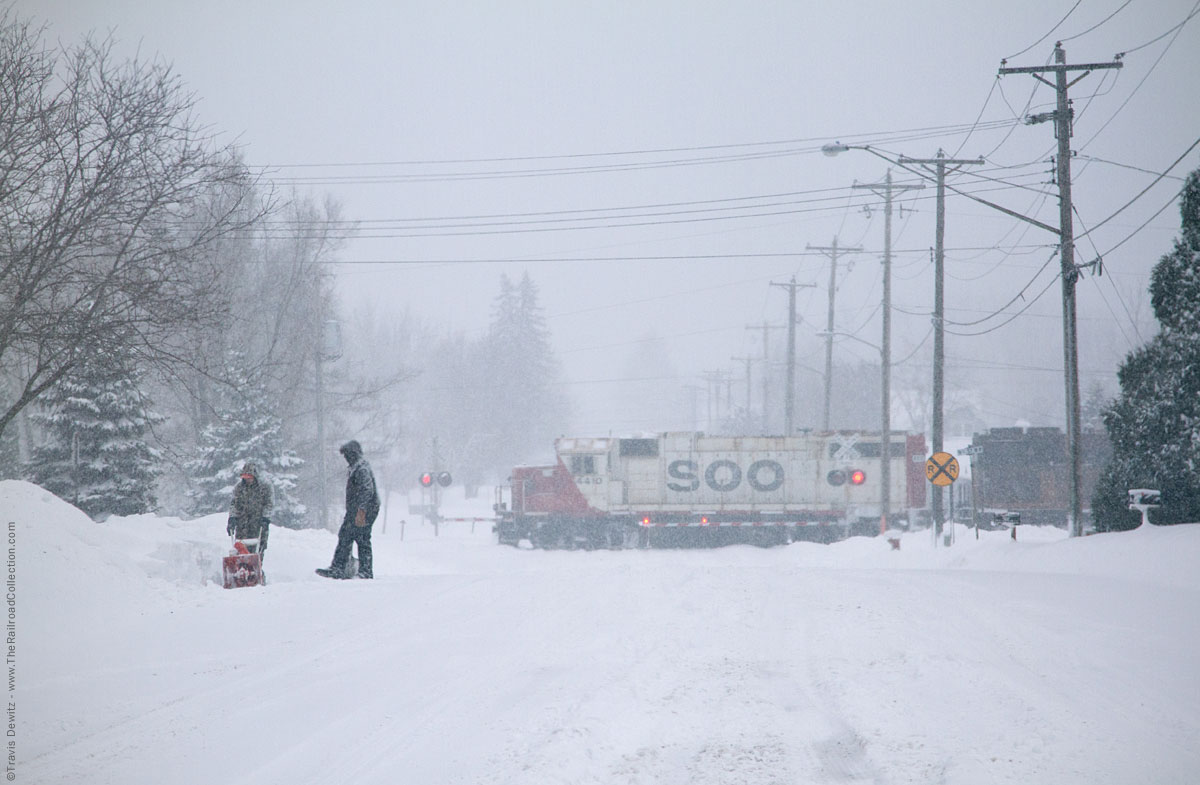
Blizzards are a whole different animal compared to thunderstorms. They are generally safer to be out in, but driving in them is a challenge. Snow storms can cripple road networks and make it near impossible to drive in. They can even bring the railroad to a halt. Blizzards can vary greatly from the plains of North Dakota to a mountain pass in Colorado. What I try to capture with blizzards, is how it impacts the railroad, the heavy snow fall and accumulation, and how the railroad response after the storm passes.
Technique to shooting in these conditions is fairly straight forward. The real concern is that all the fresh white snow can fool your camera if you are in an auto setting. Your camera will try to make the snow gray instead of white. You can adjust your camera by a 1/3 of a stop up to 2 stops to correct this underexposure issue. Blizzards offer a great time to capture the human element as there will be much labor required to remove all that snow from the right-away and switches.
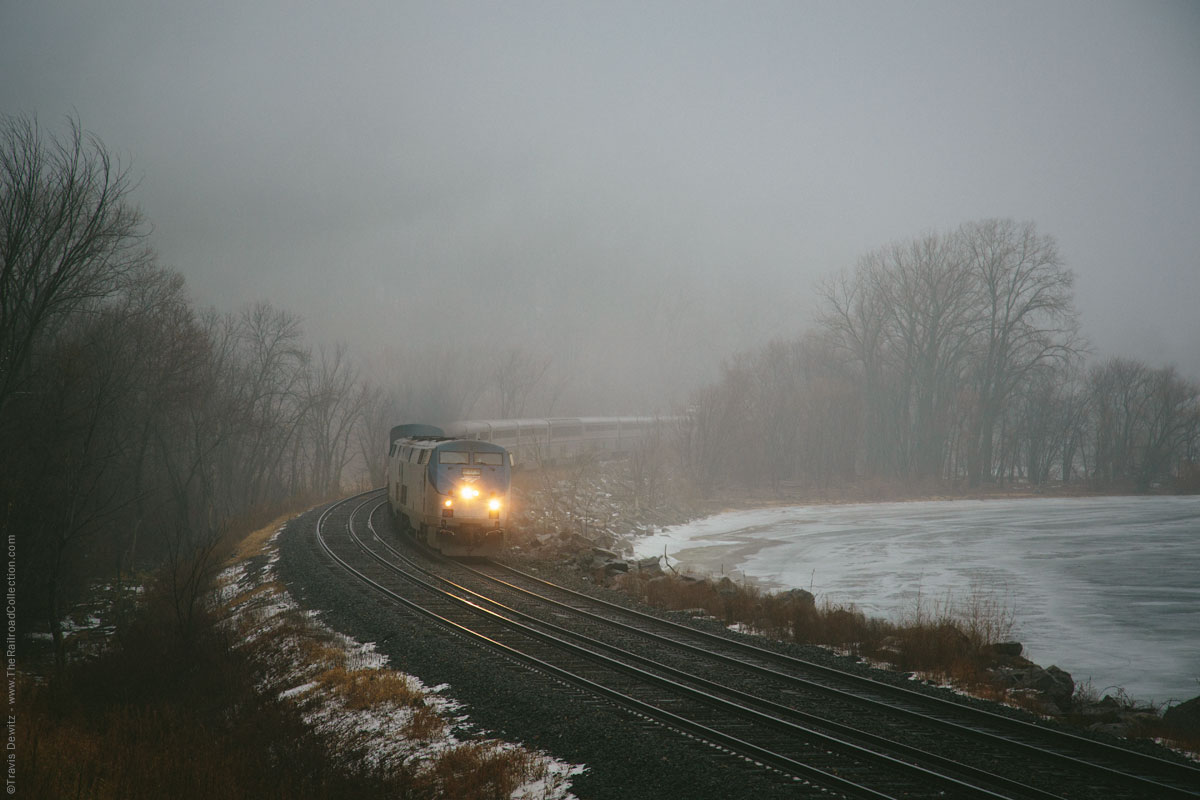
Amtrak Empire Builder #8 | Maple Springs, Minn.
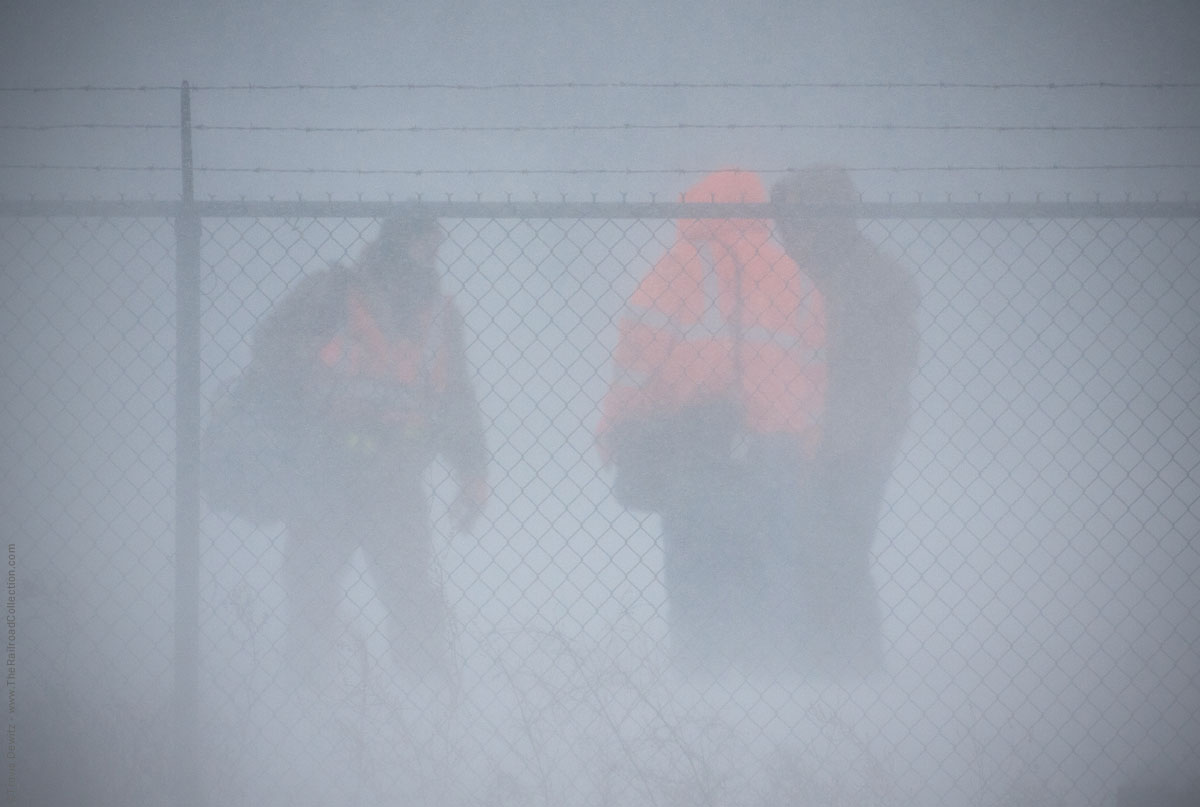
Dense Fog
Nothing sets the mood better than dense fog early in the morning. It can create some surreal scenes that I thoroughly enjoy. One of the best aspects of fog is how it hides busy backgrounds. It can add feeling of depth to your image as well. This is apparent in scenes that have trees at varying distances. The contrast lowers the deeper in the scene which end up creating layers in your image. Fog creates three challenges with your camera.
- The first is very low contrast. This can be fixed easily in post processing by increasing contrast or lowering the black point. You don’t want to overdo this as you want to maintain the look of a foggy day.
- Thick fog will scatter bright light sources like headlights. The individual small water droplets in the air causes the light to appear as large white blobs that can easily ruin your image. These overexposed large blobs of light are usually impossible to fix in post processing. The best way to combat this problem is to underexpose your images. Then in post you can bring the exposure up to the correct brightness and still be able to retain detail around the headlights or other bright light sources.
- The last issue that I notice in my foggy images is what appears to be noise. If you pay attention on a foggy day, you can see this with your own eyes, but it may appear slightly more emphasized in images. You can clean this up easily with a noise filter in post work if you feel it detracts from your image.

Torrential Rain
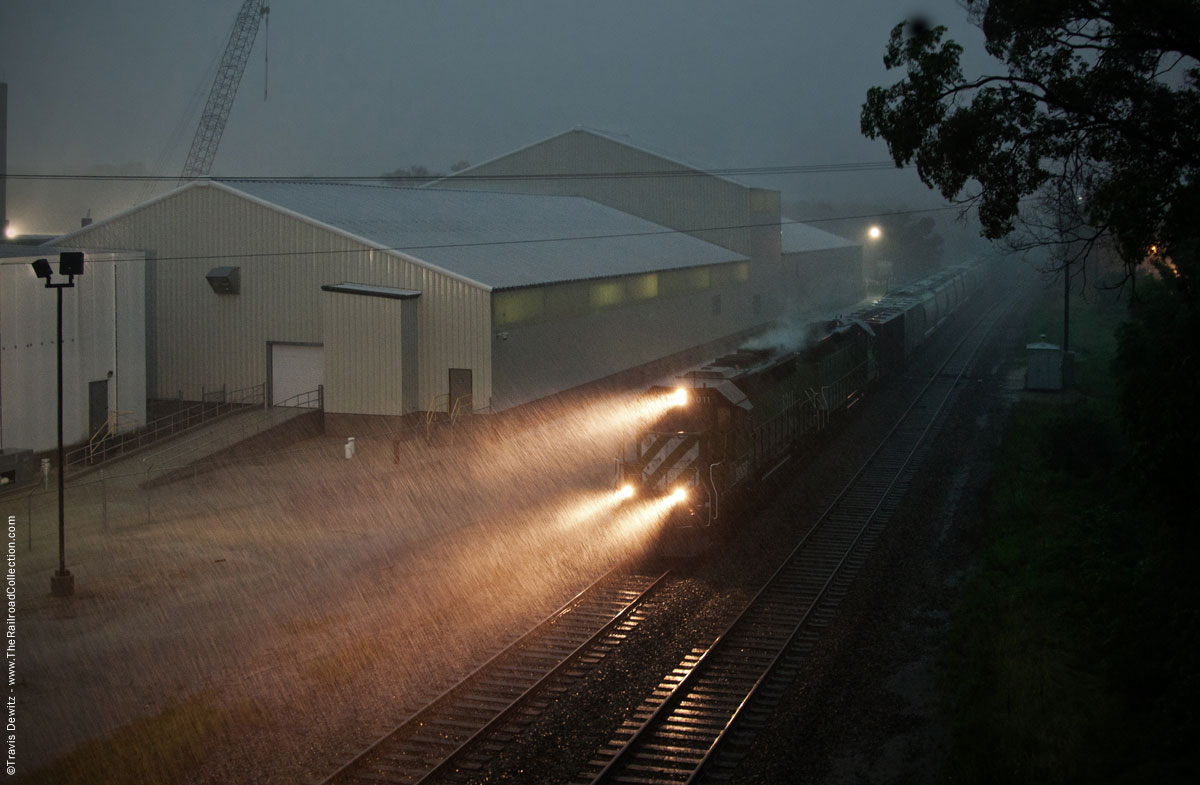
Hard heavy rain has its own unique challenges and advantages. The main advantage is the ability to be able to see the rain in your photos without having to try. There are so many raindrops in the air at any given time it can appear almost fog like. Wet surfaces also reflect light well which can make a dark scene much brighter and sometimes even vibrant. A light to average rain storm can be difficult to capture at times as rain is small and fairly clear. These two tips can help you capture any rain fall.
- Try and use longer exposure times when photographing rain in daylight. 1/10th to 1/50th of a second will cause the rain to streak which will make it much more noticeable in photos while also adding the element of motion. That added element of motion can really bring an image to life.
- Use back or side lighting to emphasis the rain. When light hits rain drops, it will scatter. Front lighting, like from your own camera flash, does not help to emphasize the rain as the scattered light is moving away from the camera. Lighting coming in from the sides or towards the camera will scatter the light in a way that your camera will be able to capture each individual droplet. This is great for those doing railroad photography, as train headlights work amazingly well to do this.
The disadvantage when taking photos in a torrential downpour is that staying dry is not an option. It is near impossible to keep your lens element dry even if you are sheltered- these heavy rainfalls get water on everything.
Damaging Winds
Trying to capture wind in a photo can be very difficult whereas seeing the aftermath of wind damage is very apparent. You need to try and show objects being affected by strong wind gusts including trees, flags, smoke, snow, dust, or debris in the air. You can also drag your shutter (use slower shutter speeds) to show near horizontal streaks of rain or whipping snow which can illustrate the strength of the wind.
Severe Temperature
Railroaders are put to the test in whatever mother nature dishes out to them and extreme temperatures are no different. Capturing temperature is all about seizing the elements that best show what you can feel. You can shoot during midday sun and use a telephoto lens to amplify the heatwaves emanating from the ground. This is one way to show your viewer the sensation of a hot day. A cold day can be conveyed by using the weather elements discussed above. Photograph the blowing snow and wind and ice is even better. The best way to show temperature is by photographing people in its element. What they are wearing and their body language can teach you a lot through a photo. Your viewer will connect with them and imagine feeling what they must be living in.
About the Author
Travis Dewitz is a professional photographer located out of Eau Claire, Wisconsin. He has been published in many books and magazines including many in the railroad industry. He does a lot of photography work and environmental portraitures for many companies and heavy industries in and around Wisconsin. He has grown up with trains and railroads are one of his passions that he pursues. His railroad photography can be seen on his website The Railroad Collection.
Like and Share with your friends and family!