Top 10 Photography Tips for Blue Hour Railroad Photography
That short period of time just before sunrise or after sunset where the sky barely has a glow, shadows are deep, and a blue hue coats everything is known as blue hour. This is my favorite time of the day to be trackside patiently waiting in the quickly changing light for the faint sound of working diesel engines and the warm glow of their headlamps glinting of the mirror like finish of the rail tops to appear. I prefer the tranquillity and the deeper saturated blues of dawn over shooting after dusk. The extremely short lived blue hour makes getting shot that much more rewarding.
#1 Get Up Early

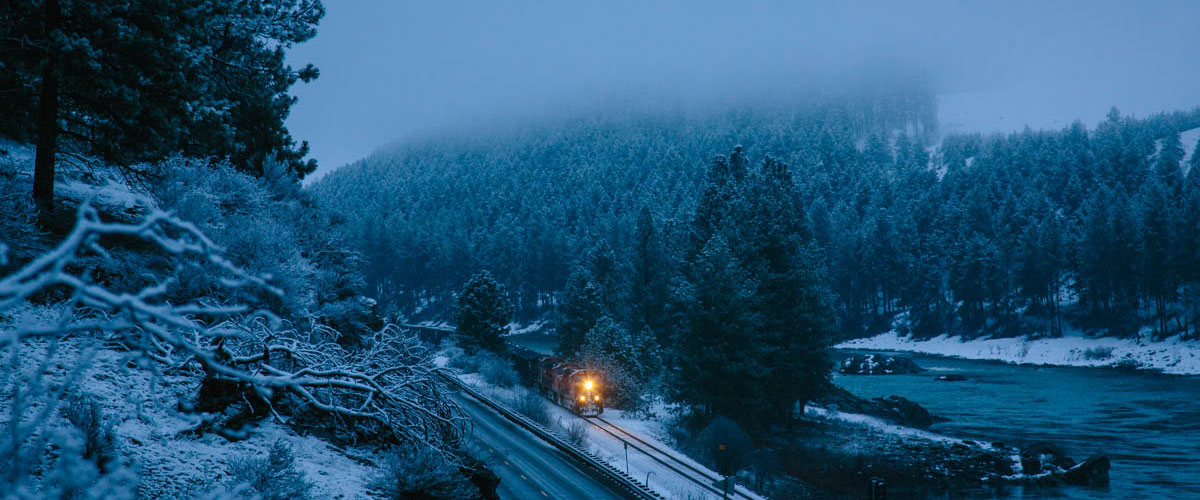
The yellow glow of another CSX coal train slowly glides along the New River in the dawn darkness as the sun slowly begins to rise and paint the sky in shades of pinks and violets.
A pretty straight forward tip but it might be one of the hardest on this list to follow. You need to be up with enough time to allow you to get ready and trackside. You will want to be in position at a minimum of 30 minutes before sunrise if not more. I personally shoot to be trackside about an hour before sunrise which allows me time to get a feel for what is happening on the railroad. I use a scanner to listen for crew transmissions which can help in figuring out what is moving and where they are. Being out early enough affords me time to move to a different location if needed. If I am in a new area, I will try to scout for good locations the day before if possible but doing research beforehand can benefit you greatly.
#2 Morning is Best
You can not beat morning blue hour compared to the evening blue hour. The color after sunset is rarely as saturated or even lasts as long compared to before sunrise in my opinion. The evening light is also not as soft in my experience with much more contrast in the shadows. I will add that you may not even get an evening blue hour.
#3 Stay Dedicated
If you are planning to shoot the evening blue hour, stick it out. As the sun drops, the light will usually get pretty nasty before sunset and just after as well. It can be easy to just pack up and go home when this happens but you will be rewarded if you are patient. There will be a large dynamic range difference between the landscape and sky right after sunset that seems to last longer than expected. The landscape will get overly dark and you will feel like the light you are waiting for will never come. Just before it goes completely dark, the difference in lighting between the sky and landscape will even out and this time is considered blue hour. Unlike morning blue hour, evening blue hour doesn’t usually look blue to the eye but you will notice that your camera will pick up a blue hue especially with longer exposure times.
#4 Learn Your Camera’s Limits
You should learn and be familiar with the extreme limits of your camera and gear so that you are prepared to push them when needed. Low light conditions are one of those times when you will want to maximize your camera’s capabilities especially if you are photographing moving subjects. The main limit you will want to learn is how high you can stretch your camera’s iso while still be satisfied with your image quality, but this limit varies from camera to camera and personal preference. As an example, I regularly take my Canon 5Dmk3 to 3200 iso but I will only take my Canon 7D to 1800 iso. You should note that you can push your iso higher in better lit conditions and maintain higher image quality so learn how far you can push the iso in the lighting conditions you intend to push them in. The next setting you can control is the shutter speed. The limits of your shutter speed depends on how you support the camera and if you want to use or minimize motion blur of moving objects. I will cover this subject more thoroughly below but knowing how low of a shutter speed you can use before you need to use a tripod can be very useful. The other advantages you can gain with your camera gear would be to use lenses with apertures at f4 or wider, image stabilization, and a quality tripod.
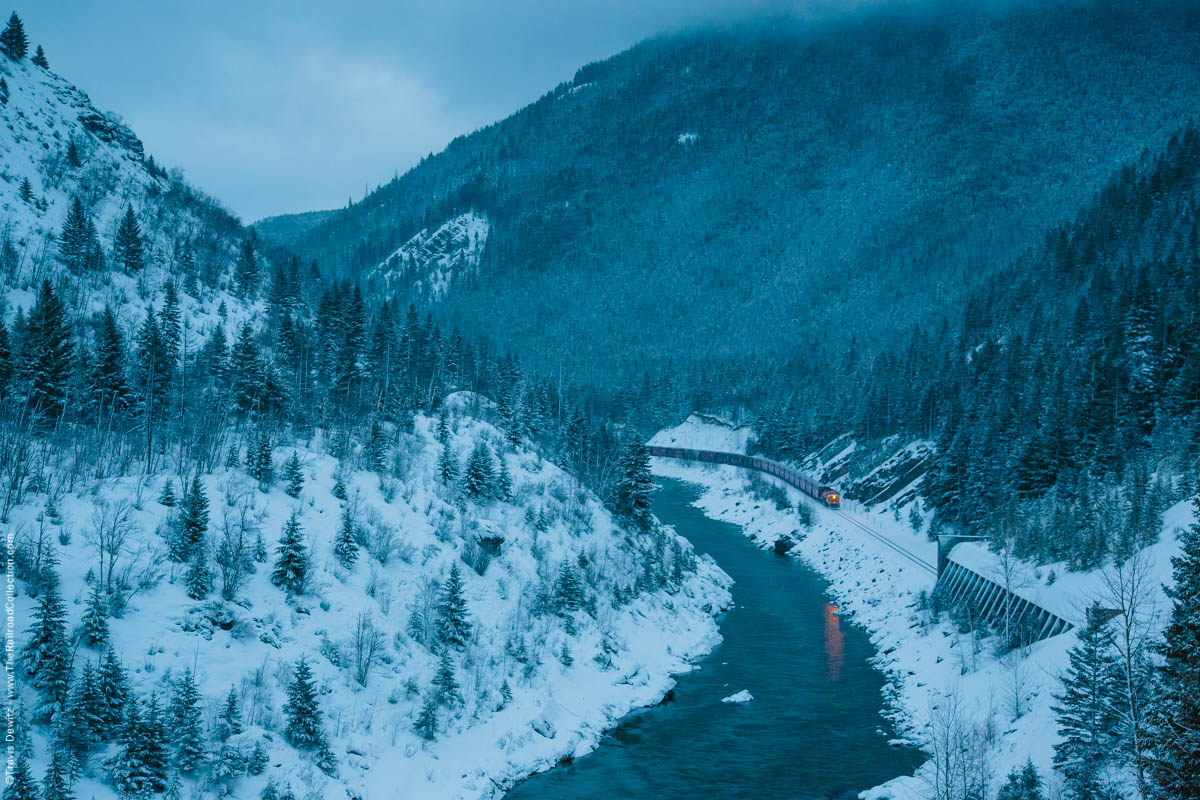
A grain train breaks the tranquility dawn as the flanges squeal against the rail along the Middle Fork Flathead River near West Glacier, Montana. and along the southern edge of Glacier National Park. Soon the train with leave the river valley at Nimrod to climb the heavy grade to the summit of Marias Pass.
#5 Think About the Reflections
One of the best parts of this time of day is that the ambient light closely matches the intensity of the locomotives lights. This allows you to be able to pick up the yellow glow in front of the train as it lights a path down the tracks and reflects off the rails. This also is an ideal time for shooting near bodies of water or even wet surfaces as the light will be reflected brightly adding interest to your photo as well as opening up the shadows.
#6 Cloudy Days Work
Cloud cover may even extend blue hour some and give you more time to work with those deep rich blues. A cloudy sky will also help maintain even lighting just before the sun rises while adding texture that a cloudless sky doesn’t offer. The main downfall of a cloudy sky is that you may lose a vibrant golden sunrise but if blue hour is what you are after, don’t worry about the skies and get out there.
#7 Pan or Motion Blur
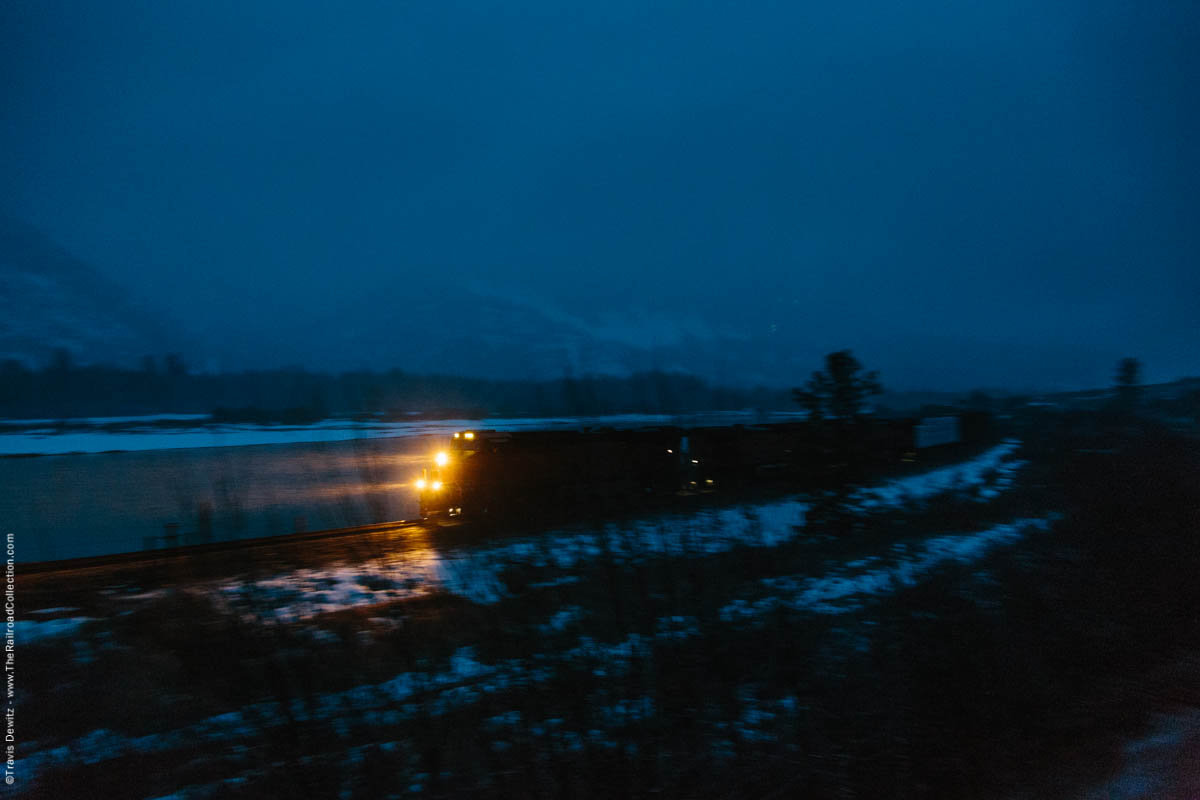
The locomotives headlamps cut through the flurries and growing darkness reminiscent to flaming torches leading a stagecoach through the night along the old wagon trail up the Clark Fork.
Depending on your camera’s capability and the light level you are shooting in, a slower than ideal shutter speed will almost certainly be an issue. You will need to work within the limits presented to you and two ways to embrace the slow shutter speed is by artistically introducing motion blur or pan with the train to keep the subject sharp. Both ways will add the feeling of movement to your photography. I don’t like excessive motion blur in my photography where the train and locomotives become one long unidentifiable blur. This will start to happen at shutter speeds of over one second. I will usually pan with the train if I need to drag my shutter longer than 1/30th of a second. Now a train moving directly towards or away from you will be much more forgiving with slower shutter speeds than one moving perpendicular or across the frame of view. Trains further in the distance will also have less motion blur than those close to you. Think about how slow an airplane appears to fly across the sky that is well off in the distance, these same principals apply for trains which you should keep in mind. I enjoy enough motion blur added to the image that captures the feeling of motion or speed, something that has been lost with diesels over steam locomotives and there trails of smoke. There is a fine line between too much and not enough blurring of the subject in which too little blur and the train will just appear out of focus. Practice and experimentation with help you hone in the timing and look that you find aesthetically pleasing.
#8 Be Aware of Quickly Changing Dynamic Range
The sun gets closer and closer to the horizon once blue hour starts to set in and the sky will start to brighten more rapidly than the landscape. Once this starts to happens, you may only be able to shoot with the rising sun at your back depending on the look you are going for. This change in dynamic range between the sky and landscape can happen very quickly and is most dramatic before the sun breaks the horizon as the sunlight is only lighting the sky and has yet to light the landscape. If you are in the mountains, the sun will first shine on the tallest mountain peaks which can be used to your advantage. Once the sun breaks the horizon, the sky and landscape will be start be be illuminated equally.
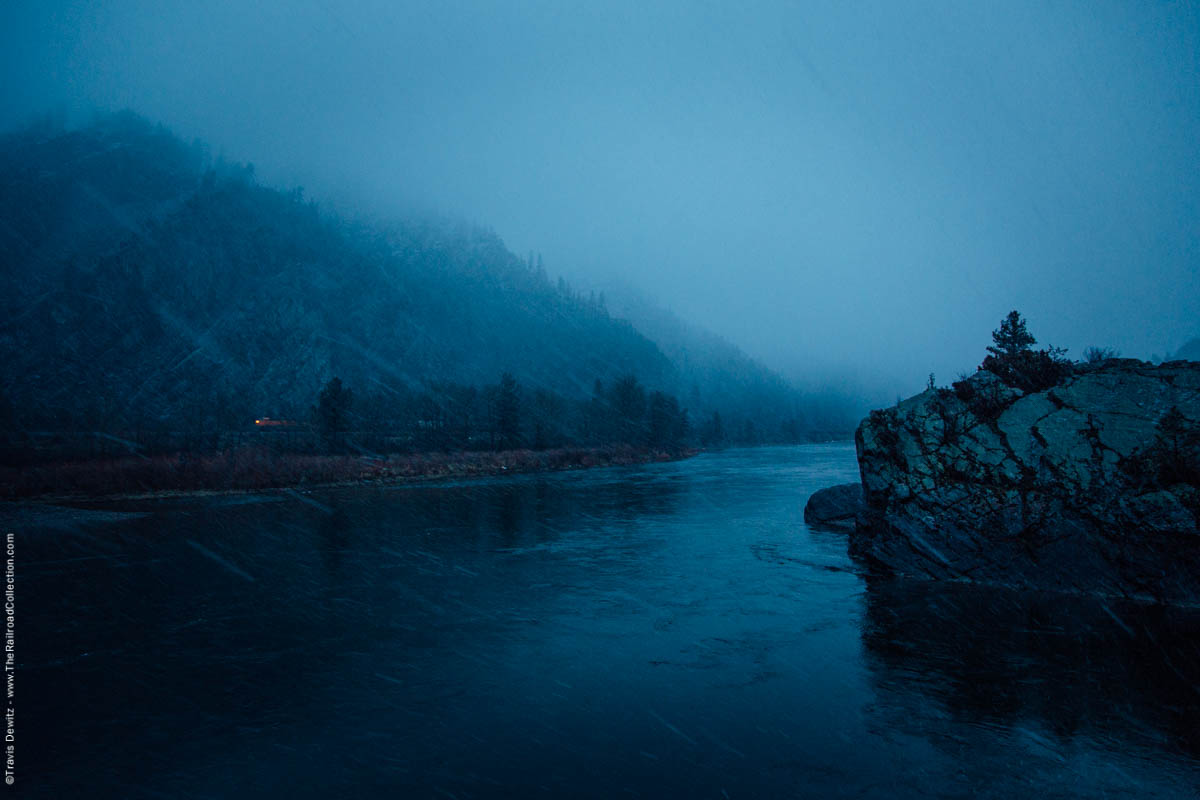
Darkness falls over the Coeur d’Alene Range near Paradise, Montana. The dim lamp from a distributed power unit on the rear of a coal train can be seen through the snow squall along the Montana Rail Link’s 4th Subdivision. This was known as the “Low Line” when completed by the Northern Pacific in 1909.
#9 Think on Your Feet
Things can change in an instant with the weather, lighting, or the railroad and you need to be able to think on your feet if you want the shot. There is such a short time frame to shoot in for blue hour and being flexible and being a problem solver will help you salvage your original plan. For example, if a train gets delayed, maybe abandoned your planned location and move towards the train to make up those precious minutes. I often will leave my predetermined spot to ahead of a train that appears before blue hour in the darkness if I am not certain another will come when needed. This allows me to at least be in position to capture one train in the light I want even if it isn’t my first choice of location.
#10 Prepare for Defeat
Blue hour is an extremely short window lasting sometime only ten minutes. Failure is pretty common and you should be prepared for it. Being prepared for it doesn’t mean accepting the defeat but maybe be prepared to photograph something else if the train you are hoping for doesn’t come. Enjoy how tranquil it is before sunrise and take in the sounds of nature or a city coming to life as night transitions to day. Take in the experience and realize not all is lost if you don’t get the shot you hoped for.
About the Author
Travis Dewitz is a professional photographer located out of Eau Claire, Wisconsin. He has been published in many books and magazines including many in the railroad industry. He does a lot of photography work and environmental portraitures for many companies and heavy industries in and around Wisconsin. He has grown up with trains and railroads are one of his passions that he pursues. His railroad photography can be seen on his website The Railroad Collection.
Like and Share with your friends and family!